Shins Modeling for Arma 2 / DayZ Tutorial - Part Four

shinkicker

Administrator
Staff member
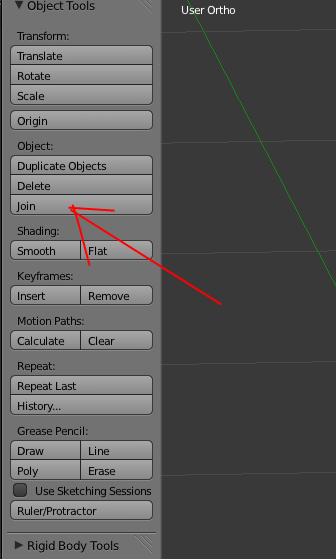
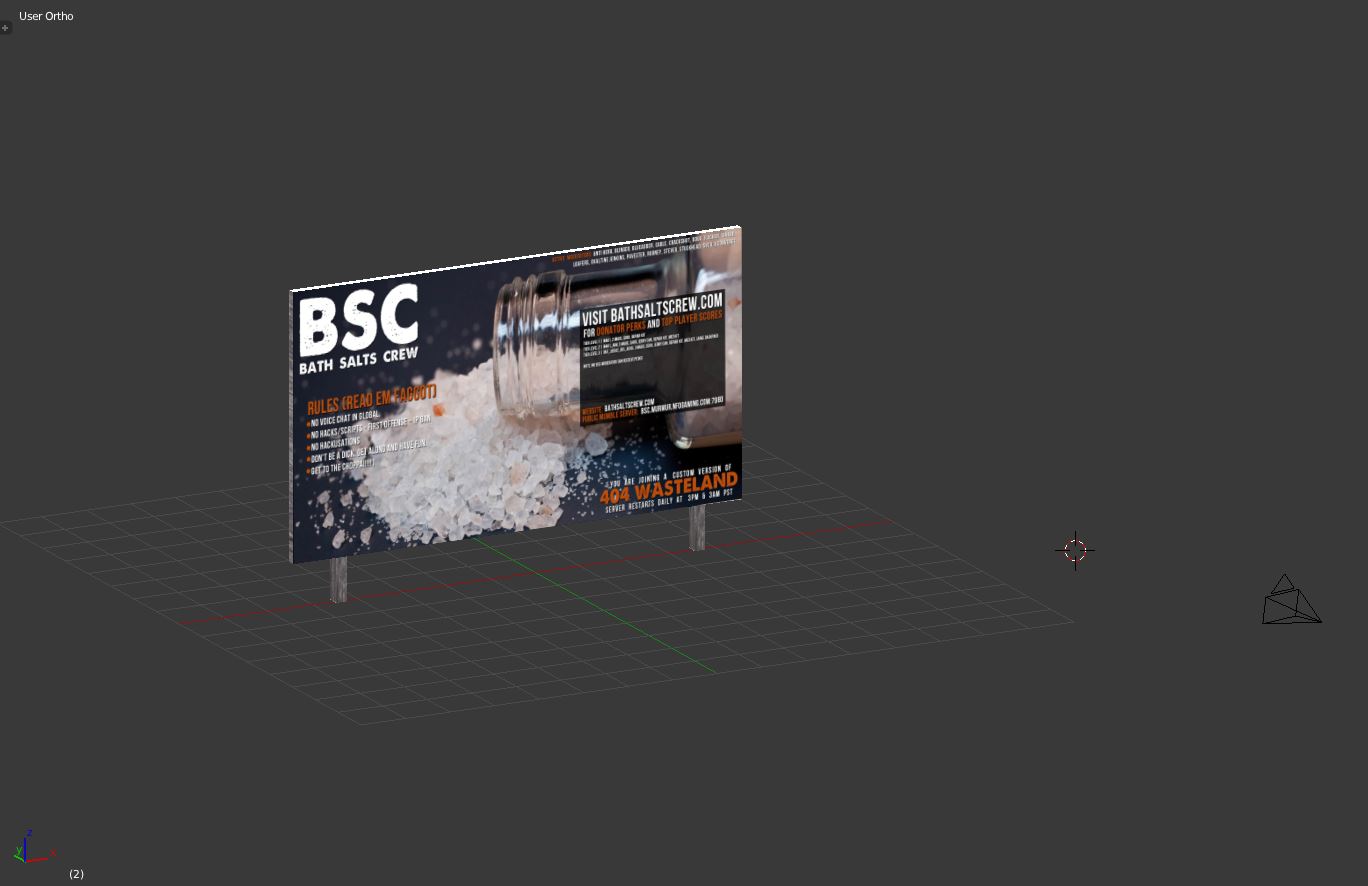
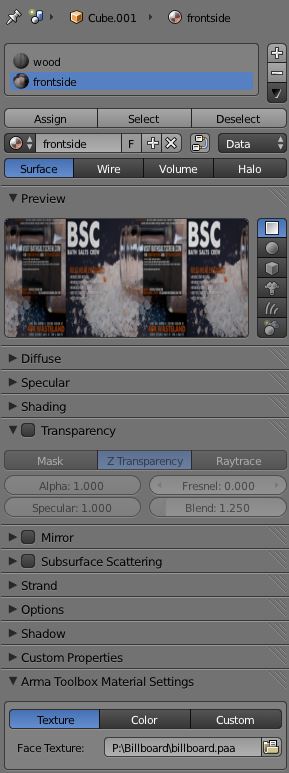
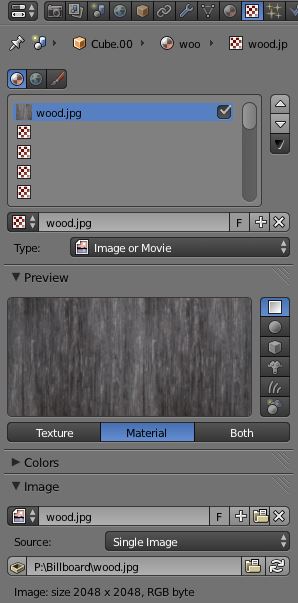
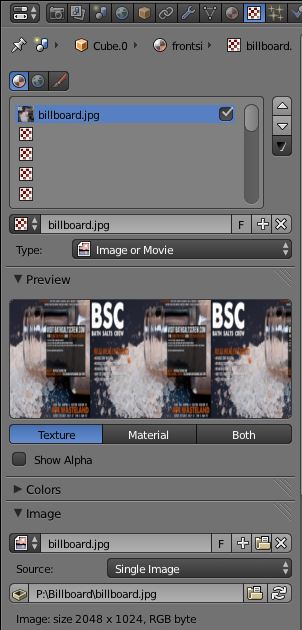
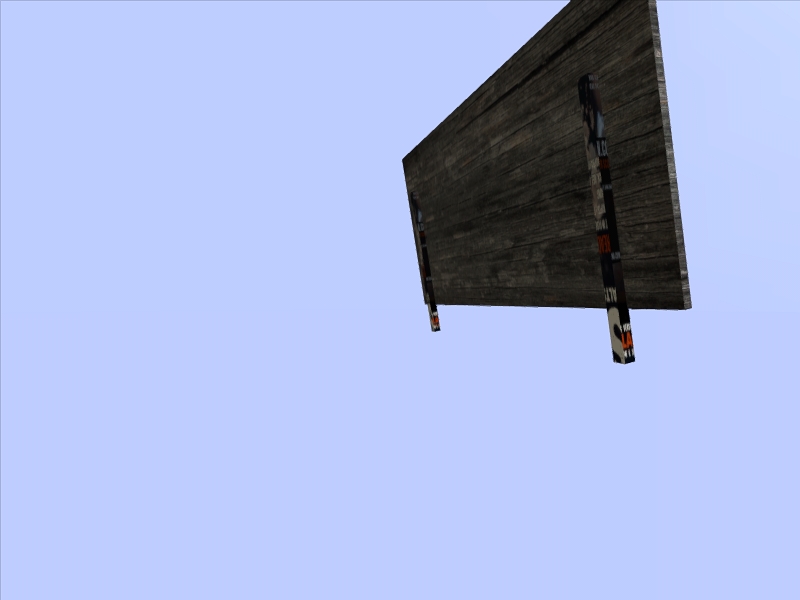
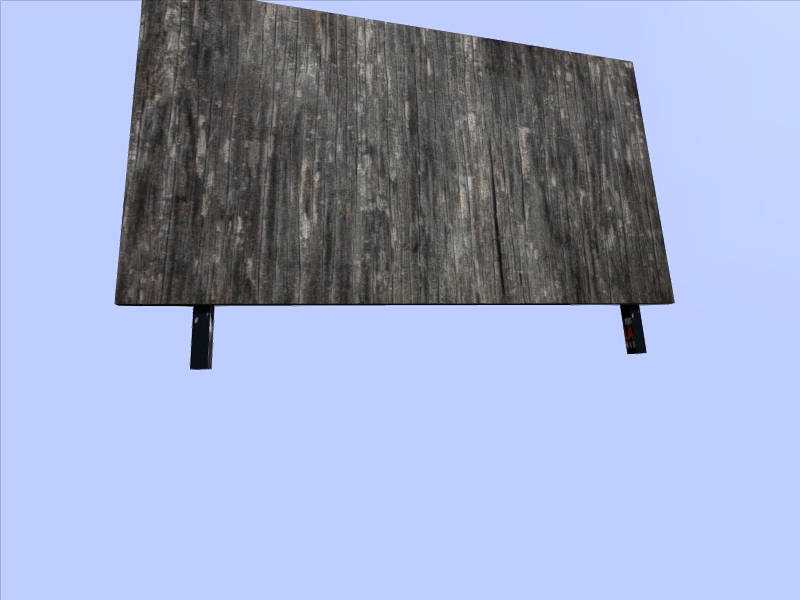
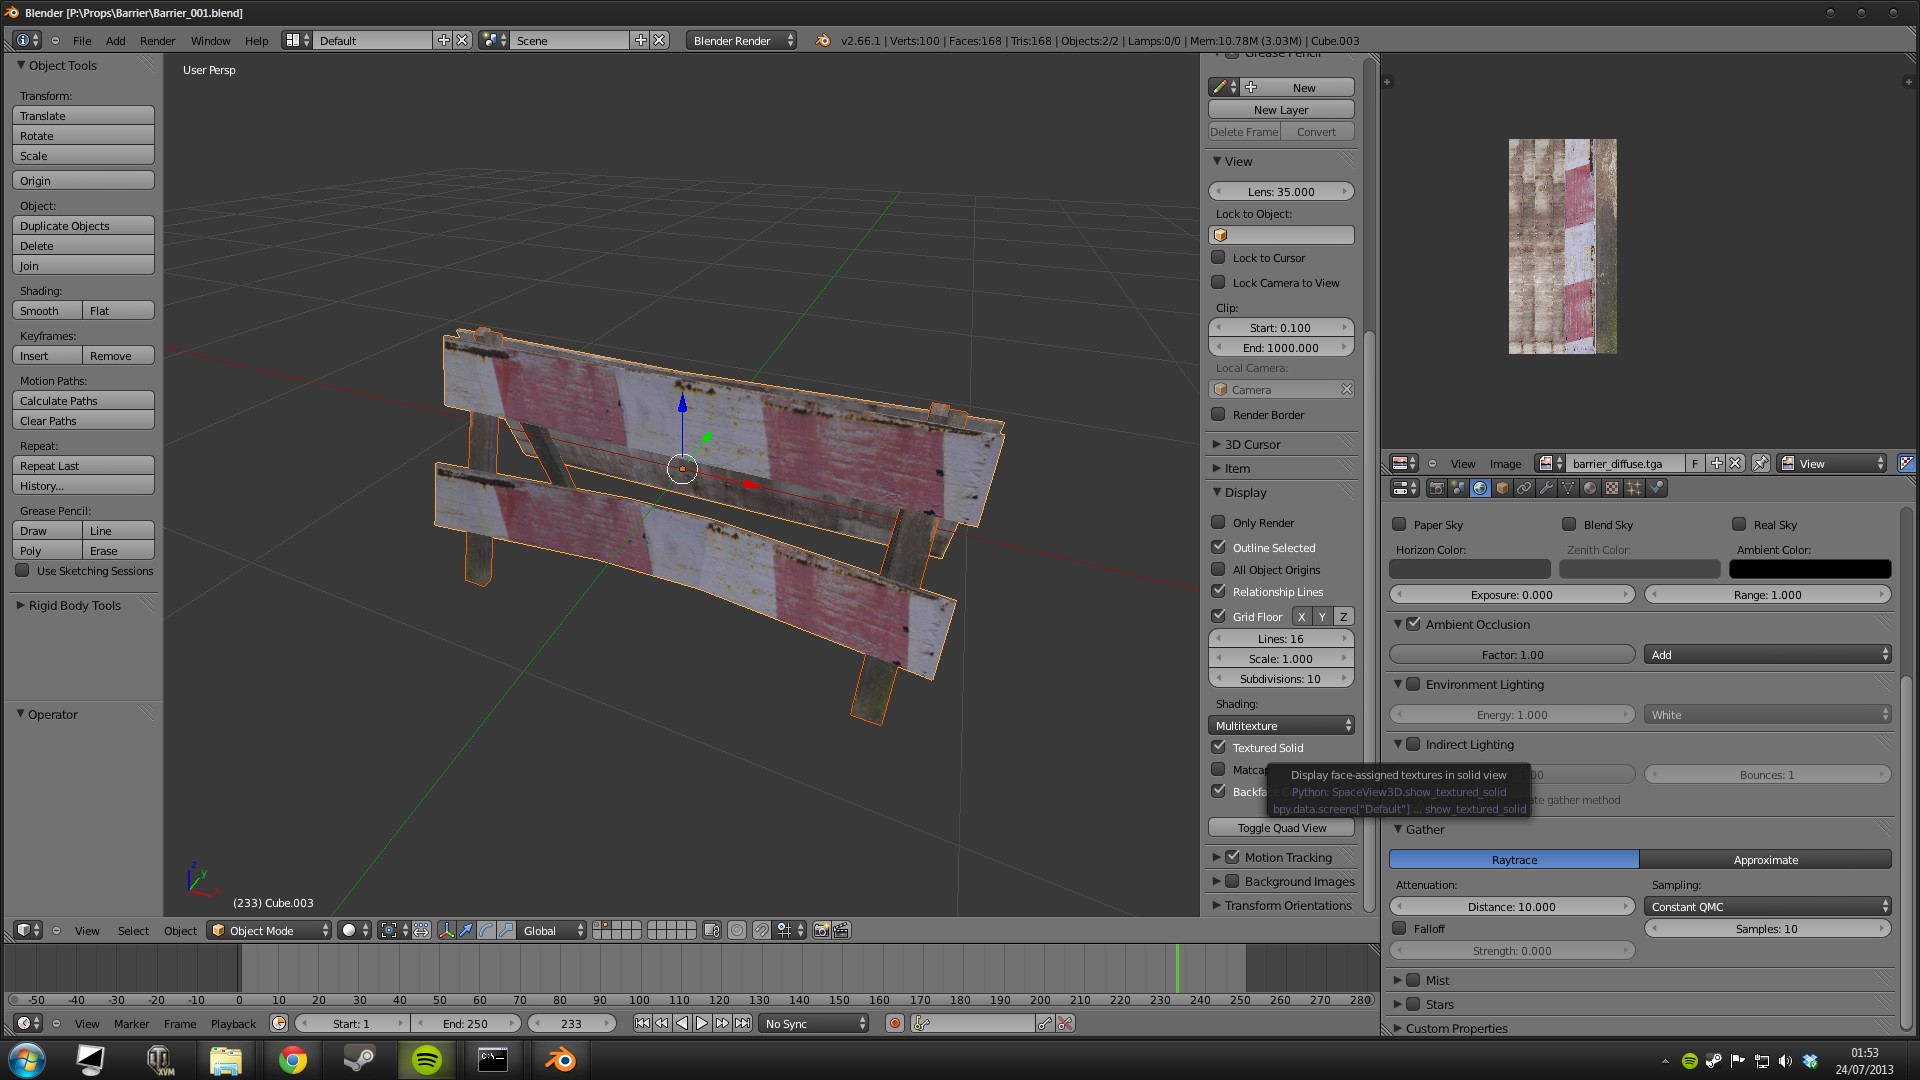
Ok, everything in a video for this one.

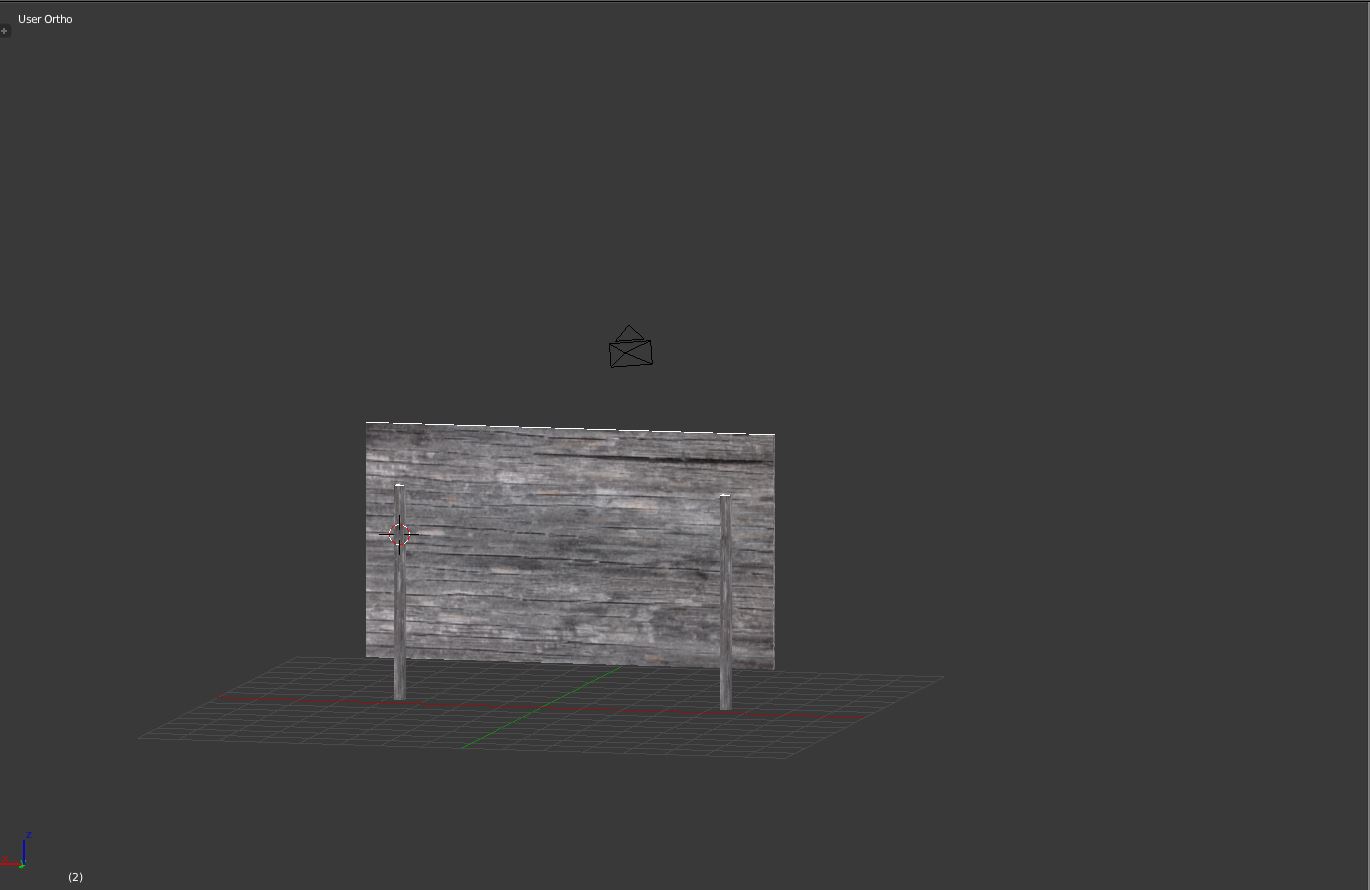
This will bring us to the point that we can have a working model in game. After this I will follow up with an rvmat that we can apply


Download link for the Blender conversion script:

http://www.armaholic.com/page.php?id=20520

And a thanks of course to Alwarren who developed the script.

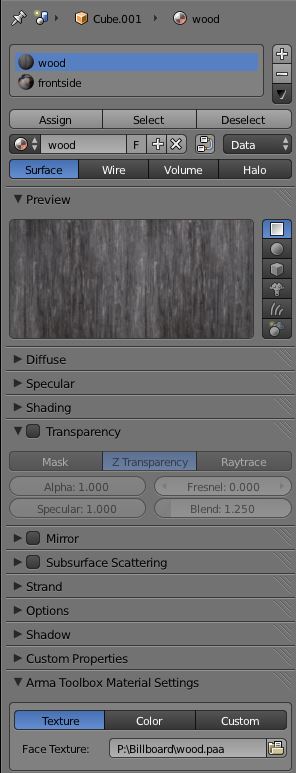
Next tutorial will cover rvmats

EDIT: Would be nice to see some of you post your finished models. or even release them to the scripts / addon section!

Here is the complete config:

class CfgPatches
{
class clan_sign_tutorial
{
units[] = {""};
weapons[] = {};
requiredVersion = 0.1;
requiredAddons[] = {"CAData","CAMisc3"};
};
};

class CfgAddons
{
class clan_sign_tutorial
{
list[]=
{
"Clan_Sign",
};
};
};

class CfgVehicleClasses
{
class clan_sign_tutorial
{
// name in the editor
displayName="3D Model Tutorial";
};
};

class CfgVehicles
{
class Thing; // External class reference
class Clan_Sign: Thing
{
scope = 2;
model = "\tutorial\sing.p3d";
icon = "\Ca\misc\data\icons\i_danger_CA.paa";
displayName = "Clan Sign";
mapSize = 0.7;
accuracy = 0.2;
vehicleClass = "clan_sign_tutorial";
destrType = "DestructNo";
};
};
 
Quick tip. Press 'N' in the viewport and find the check box "Textured Solid" under "Display". Enabling this will render the texture without having to faff around with lights!

eyPFKrp.jpg
 
Quick tip. Press 'N' in the viewport and find the check box "Textured Solid" under "Display". Enabling this will render the texture without having to faff around with lights!

That is a good tip!

I was using cycles render before. but its not compatable with the script (I should have mentioned that in the video).
 
This has been my project for the day:
1ZlyLLH.jpg


I'm just working on getting it in game; I think I need roadway LOD to allow players to enter it (am I right?). Once its in the game I'll probably have to create normal/spec maps.

Another thing: I've got two UV maps, one for the ambient occlusion bake (ie, every face has its own UV space) and one for the diffuse/normal/spec maps (UV's overlap to get higher resolution). Do you know exactly how I specify what material channel goes to which UV set?
 
This has been my project for the day:
I'm just working on getting it in game; I think I need roadway LOD to allow players to enter it (am I right?). Once its in the game I'll probably have to create normal/spec maps.

Another thing: I've got two UV maps, one for the ambient occlusion bake (ie, every face has its own UV space) and one for the diffuse/normal/spec maps (UV's overlap to get higher resolution). Do you know exactly how I specify what material channel goes to which UV set?

That looks really nice.

I have never heard to a roadway LOD, but then again I have no experience with buildings yet.

OK, for the second point, I hope to cover this myself and get up to speed a bit too. This will need be created in your rvmat file and then added within oxygen.

Here is likely one of the best guides I know of:

http://forums.bistudio.com/showthread.php?77685-Using-the-quot-Super-quot-Shader-(RVMAT-material)

And a bit more on rvmats:

http://community.bistudio.com/wiki/ArmA:_RVMAT

Good luck, also if you get anywhere or get stuck, start a new thread as I can see it being very valuable info to have to hand!
 
Excellent!

Just on my laptop at the moment, but will have a look in a couple of hours when on my pc.

One thing you could try is:

Download the following rvmat (its one for wood)

https://www.dropbox.com/s/m6wir2s357vc3a7/wood.zip

Open O2, hit "Ctrl + A" to select all vertices and then hit "E".

You should then see to text fields, bottom left. Open the file explorer one under 'Material' and then wood.rvmat.

Note - it may change the look of your model (make it slightly orange coloured), that is because the materials need to be setup. You might be able to add your AO bake file in here.
 
Thanks mdk, that barrier looks really good to!

I've made progress:

PojH8k3.jpg


I fixed the texture errors by correcting a lot of errors (references and PixelShaderID ) in my .rvmat file. I also went and created the Normal and Spec maps.

I fixed the collision problems by ensuring that the collision model was made solely from separate boxes, not a rough 3d model (apparently no concave 3d shapes allowed!)

Thanks for the wood.bisurf, I've used that and it seems to work correctly.


Final problems:

1. The door is too small, the player gets stuck
2. The model seems to be floating; it moves when you shoot it! I feel this may be a property inherited from the "vehicle" class. Any ideas how to fix it (it currently weighs 800 KG but still moves... can you show me how to make it a static prop? Currently when you 'mouse over' the shack it displays its name, something that doesn't happen with the standard buildings)

I'll re-upload all the files so that others can see what I've done (.PSD files/blend/p3d)
 
Awesome model there sparlin,

I believe it needs to be defined as a type of HouseBase rather than vehicle?

Don't quote though ;)

Rossy
 
Haven't quite worked out the Config.cpp stuff yet, might have another go tonight.

With regards to multiple UV sets: Apparently neither the .OBJ and the .p3d exporter have the ability to export multiple sets which makes life considerably more difficult. I've asked the creator of the .p3d exporter to consider including the option.

And yes, I'll do a tutorial. What content would you want? Creating from scratch, UV mapping, creating the various LODs?
 
Great tutorial, ive been following them for a while, but whenever i try to export as a p3d file, it doesnt export. I dont get any errors either, Ive tried running in adminstrator but when i did that the texture loaded up as all pink, and I couldnt export that either, does this have to do with the converter you provided or something on my side?
 
Try this....

1. Save your file first (so you can rollback what I suggest)
2. Remove all cameras, lights etc.
3. With onject mode active, press 'A' to select all.
4. Under the object menu (photo below) hit 'Join' (If its grayed out, you might just need to select one object, then 'A' and 'A' again (sometimes blender is weird like that).
5. Try and export now and see if that works.

RdZD6f4.png
 
After trying what you suggested it still doesnt export, ive tried running it as admin, exporting to different places but it will never export, and im sure i have the Arma toolbox enabled, any other suggestions?
 
After trying what you suggested it still doesnt export, ive tried running it as admin, exporting to different places but it will never export, and im sure i have the Arma toolbox enabled, any other suggestions?

Go to C:\Users\yourusernamehere\AppData\Roaming\Blender Foundation\Blender\2.67\scripts\addons\ArmaToolbox/Settings and put the path to O2Script.exe there.
 
Go to C:\Users\yourusernamehere\AppData\Roaming\Blender Foundation\Blender\2.67\scripts\addons\ArmaToolbox/Settings and put the path to O2Script.exe there.


Tried that, still no luck :/ If anyone wants to jump in a teamviewer session and possibly help me that would be great.
 
I followed your tutorial shinkicker, but somewhere, somehow, I messed up.

In blender:

uBIMgUt.jpg


ZHKnoez.jpg


BNVO6V0.jpg


TnUhQO2.jpg


78EMojO.jpg


xDJ9aTm.jpg


How it looks in O2/Buldozer:

WjwfGQW.jpg


KBw0tpN.jpg


I apologize for the wall of pictures. I figured I just had the paa files swapped in blender, but as far as I can tell I don't. Both textures are to the power of two. Whatever it is, I'm probably going to feel like a massive idiot because its probably a simple fix.
 
Back
Top