For quite some time I have been meaning to brain dump what I have learnt about creating content for Arma 2 (specifically DayZ), and getting it into game and behaving as it should.
Finding this information was not fun. Most of the info out there is very old (OFP period) or very minimal (BI documentation), hopefully this will save you some of the pain of learning without a clear cut path ahead.
What I will cover is conversion from a 3D modeling application into the Arma format (P3D) and then wrapping that model in a config, packaging it into a PBO and then bringing it into game.
What I won't be covering is how to 3d model. That is to vast a subject and I am still to green myself in this area.
I will also in (time permitting) add some stuff on doing simple re-textures, working with proxies and some other tricks and tips I know of.
I will be using a specific tool set, namely Blender 3D. If you use 3ds max, maya etc, then principle is the same, its just the conversion which is different.
If you don't have any modeling application as yet, you're in luck, Blender is free (and a dam nice application too!). You can download it from blender.org, go do that now.
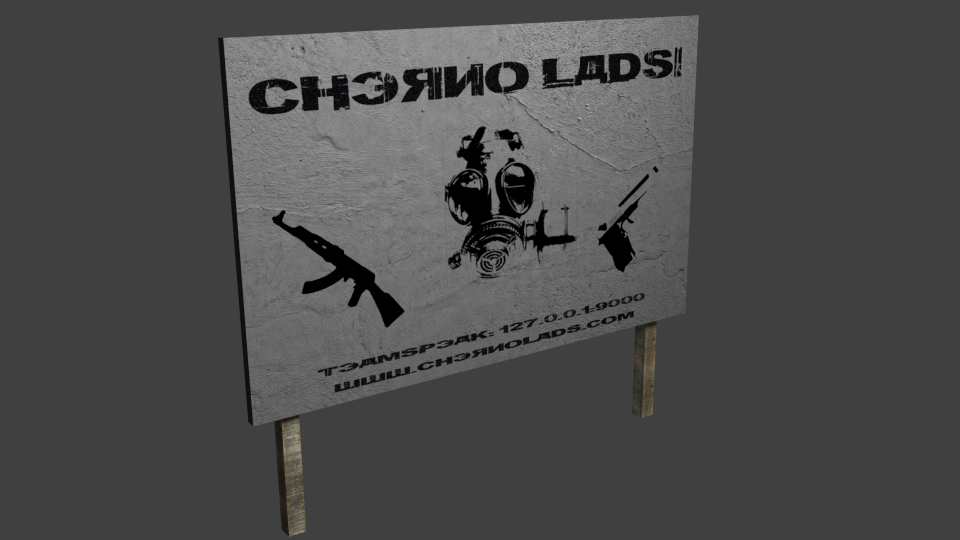
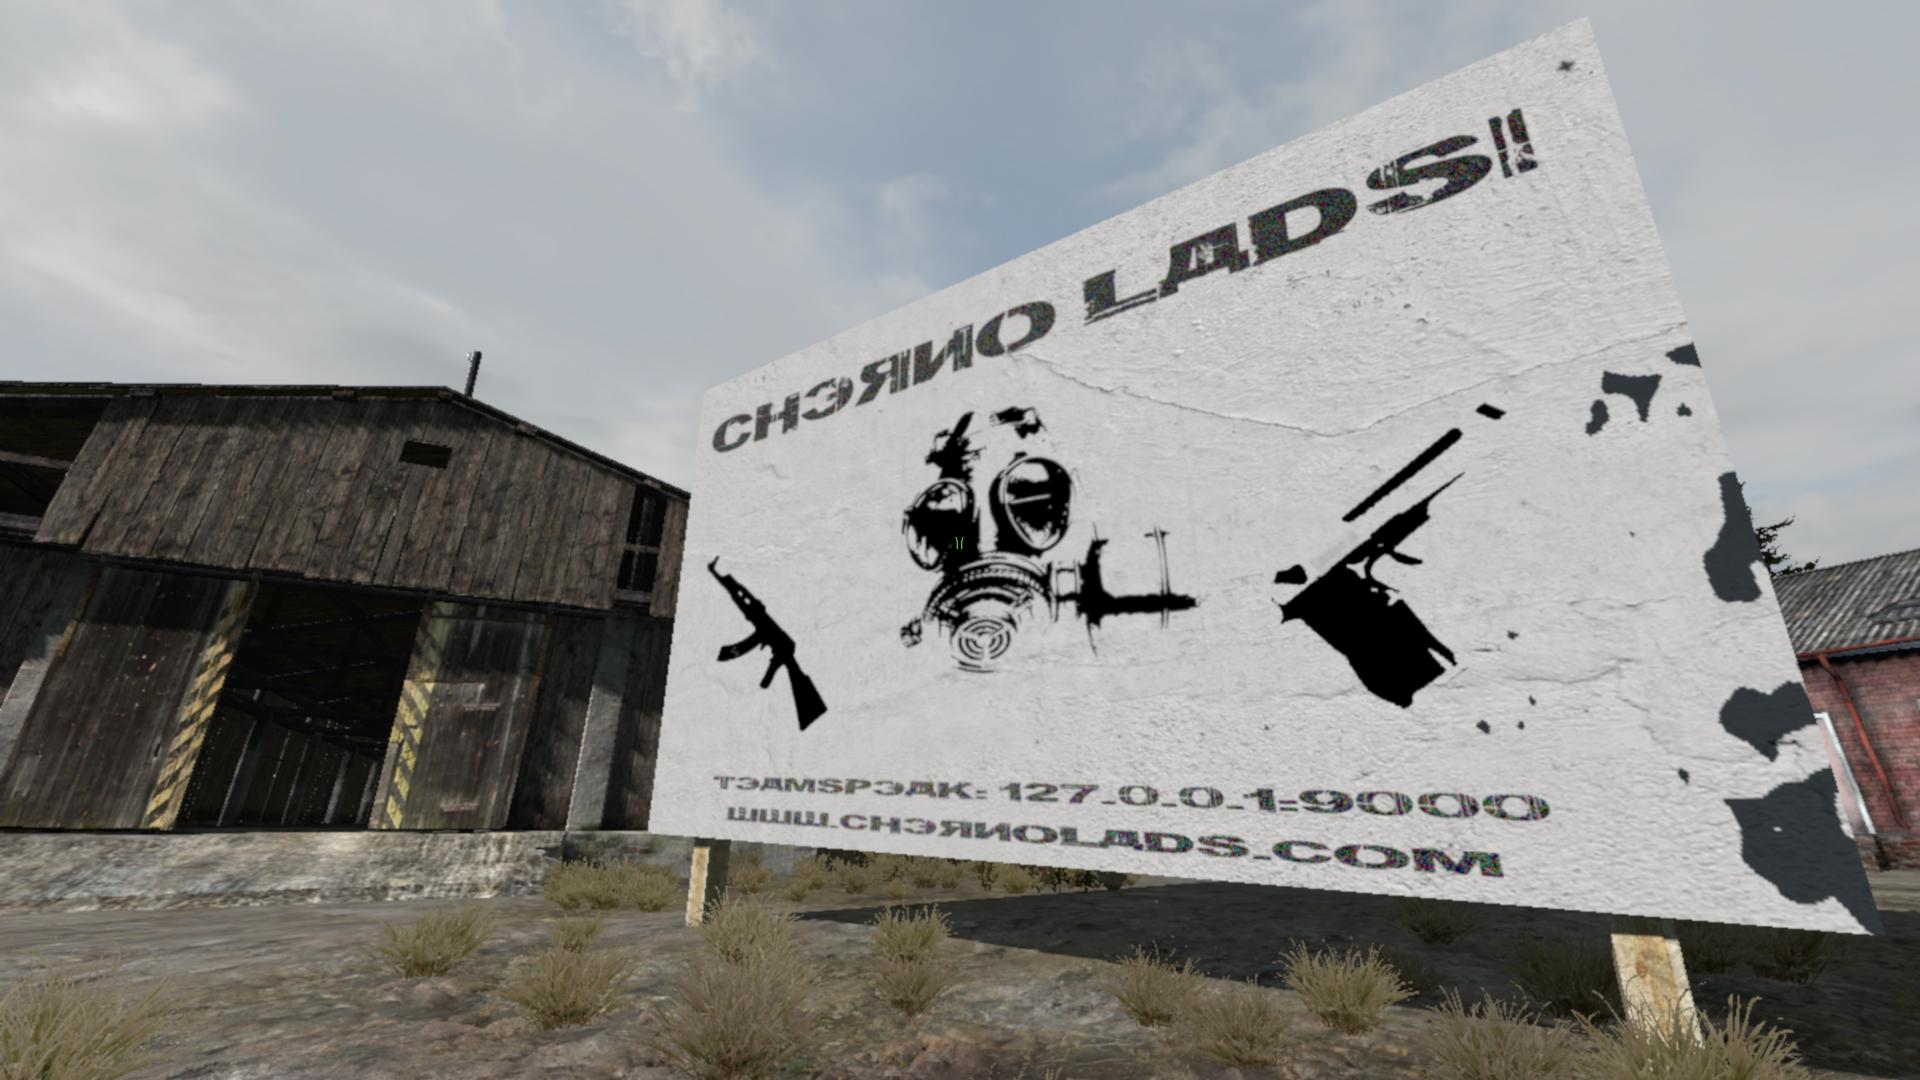
For a model / object we will create a very simple clan billboard that you can use outside of a base etc. Don't focus on the artwork, its the process we are interested in. The sign was a quick mock up by me and has not had much time put into it
The work flow of this tutorial will be:
Install BI Tools
Create a /ca directory
Set up Oxygen 2.
Install Blender.
Model and texture a Clan Billboard.
Convert to P3D
Open in oxygen and set the arma LOD's.
Code a config.cpp
Pack the files into a PBO
Test it out in game!
BI Tools
"Complete editing tool suite for Bohemia Interactive's game engine used in ARMA II Operation Arrowhead / Combined Operations."
BI tools, is everything you need to create content for Arma 2 and then package it for delivery to other players.
It consists of the following applications:
Oxygen 2 Personal Edition for Arma II - model editing and animation package
Visitor 3 Personal Edition for Arma II - terrain and map editing
TexView 2 - texture convertor and viewer
BinPBO Personal Edition - packer
Sound Tools - sound and lipsync utilities
FSM Editor - tool to edit and compile fsms used in Arma 2
BinMake - conversion tool
Tools Drive - main working directory for tools with mandatory data files
FontToTga - utility to create fonts for Arma 2
The ones that we will be working with are Oxygen 2 (From here on in referred to as 'O2') for tweaking the models and making Arma happy.
BinPBO for packing our work.
TexView for converting png images files to the paa format needed by Arma / O2.
Also 'Tools Drive' which creates a P drive. More on the P drive shortly.
Its a simple 'click next' install, so no steps are needed from me. Install everything, as you might well need them all at some point and they are not that big of a space taker. If something goes wrong, post in this thread. Now more on the P drive which I keep mentioning...
The P Drive!
OK this is important, do not skip having a P drive.
It will come back and bite you on the ass later!
The P Drive is used in the following way..an example:
As your computer see's it:
P:\MyMod
As Arma 2/3 see it:
\MyMod
or
\MyMod\MyModel.P3D
or in O2:
\MyMod\Texture\TextureFile.paa
or in code
texture = "\MyMod\characters\texture_CO.paa";
So the P drive acts as a root level for your mod to structure itself within.
If that does not make sense, then go with it anyway, it will later.
I have hit the character limit now, so will continue with part two which will cover creation of the /ca/ repository