So lets have a quick round up on progress made. In part one we laid out what we wish to achieve. We installed BI Tools and learned about the all important P: drive!
Now we will move onto setting up a CA repository and configuring our fresh installation of Oxygen 2!
CA is a repository which contains all of the default Arma game objects that are used by the Virtual Reality Engine. Everything you see in game from a plastic barrel, outside toilet, a Takistan market stall, Grumman F-14 Tomcat fighter jet or the hospital in Cherno are all located in CA.
The default location for CA is situated in your Arma 2 OA (or Just Arma 2 / 3) under a folder named 'Addons'.
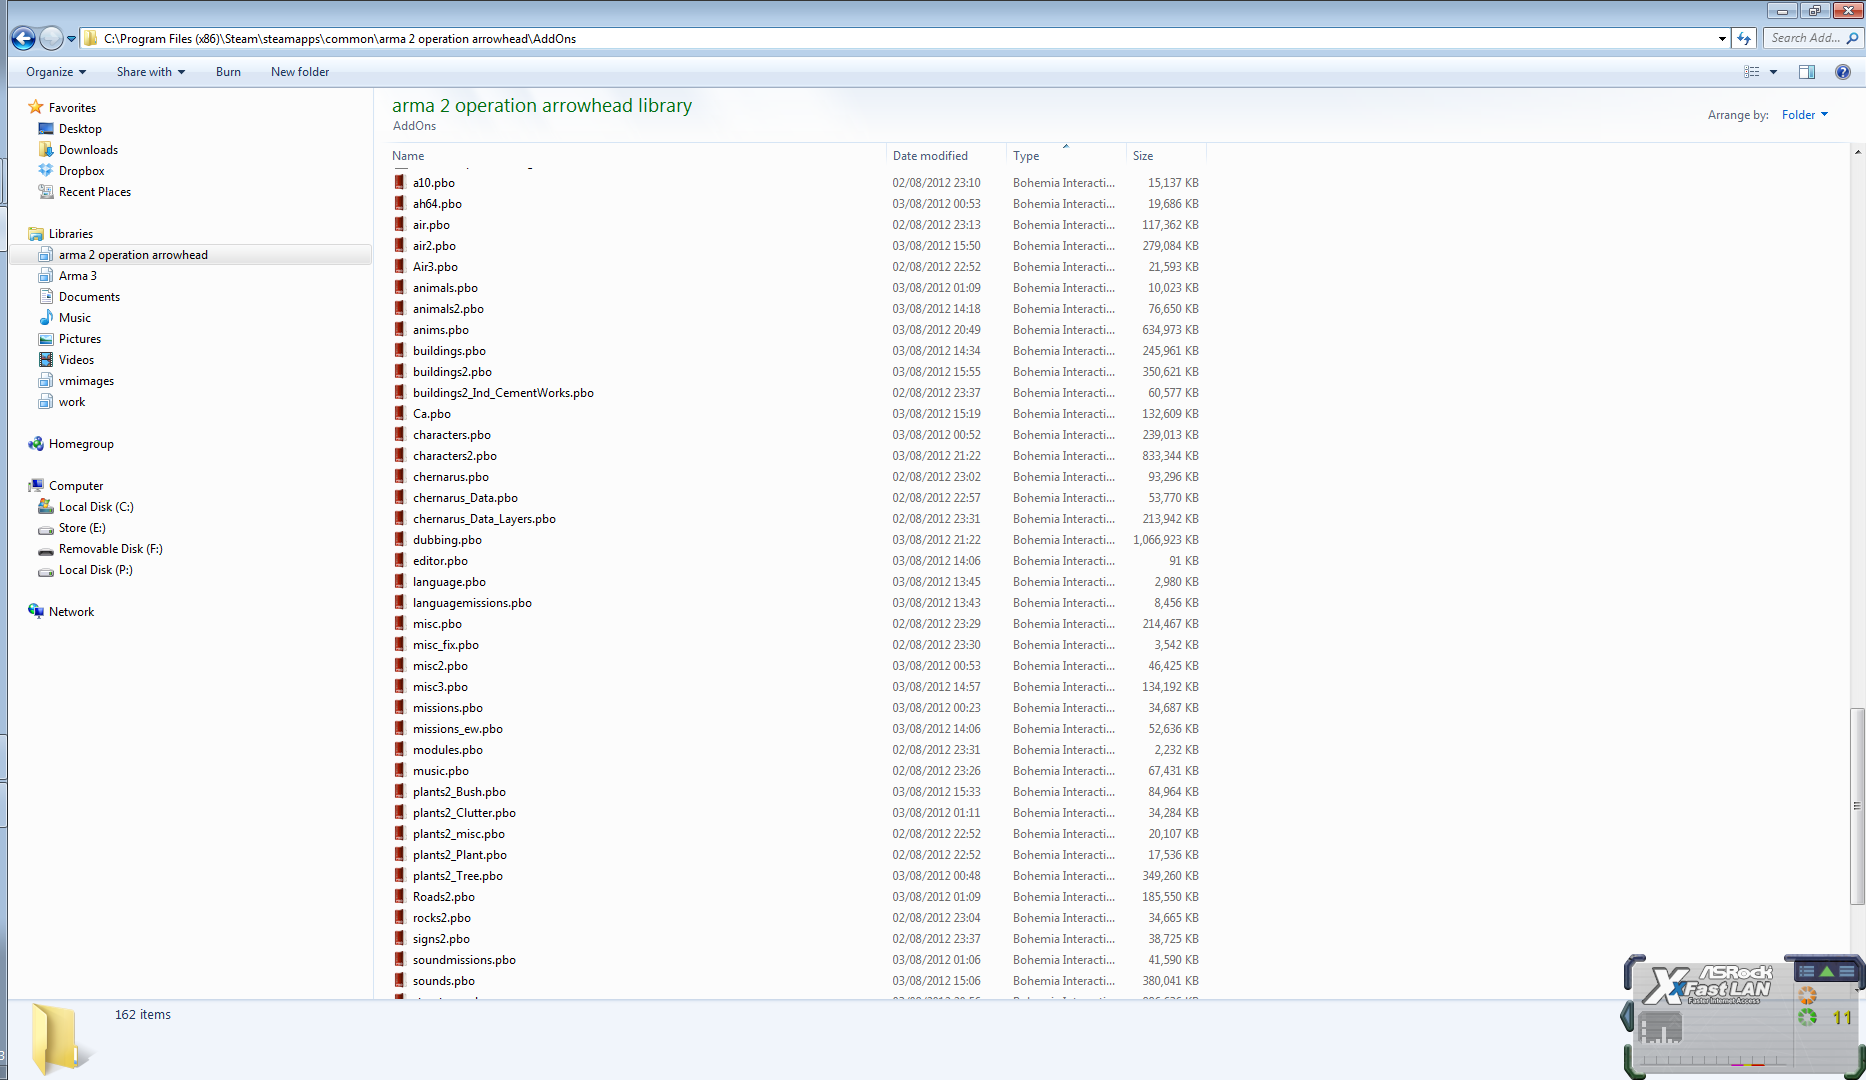
Within the Addons folder there are a bunch of PBO files. PBO is similar to zip or rar, its a way of archiving files together and is a format that the Arma engine works with.
So how does this relate to the P: Drive?
What we need to do is take every single one of those PBO files from the Addons folder, and unPBO (like UnZip) all of them into our P: Drive.
So for example, we would take:
And make it into:
We do this as sometimes our models / addons might need to borrow components from the existing Arma game objects. For example if we decide to make a car then we can inherit parts of existing cars to make up our own to save making them ourselves!.For example we could use the sounds from the Skoda. We call this inheritance! (we will go more into inheritance later).
CA is also a useful reference to have. You have one central place where you can view the config.cpp files for every in game object to to see how to do configure models / addons the right way.
Anyway to go back to unPBO'ing every single file into our P: Drive. You might well be thinking 'That is a feck ton of work!' Well as luck would have it there is a handy little script to do it for us. This script is called 'Arma2P' by a guy called Mikero.
Mikeros Arma2P script
Download link here
Install instructions:
1. Unrar Arma2P.2.5.1a.rar to anywhere on your PC.
2. Go into the newly created folder and then unrar the following:
extractpbo
convertp3d
depbodll
3. OK, now run Arma2P.2.5.1.cmd (double click on it or 'cd' via a dos box if you have a big beard and like to do things that way).
This will then open a command line prompt and start the whole process for you. Now would be a good time to take a break, this can take up to 30 minutes +
After that move on to Part 3 where we set up Oxygen 2
Part Three
Now we will move onto setting up a CA repository and configuring our fresh installation of Oxygen 2!
Creating a CA directory.
What is CA ?CA is a repository which contains all of the default Arma game objects that are used by the Virtual Reality Engine. Everything you see in game from a plastic barrel, outside toilet, a Takistan market stall, Grumman F-14 Tomcat fighter jet or the hospital in Cherno are all located in CA.
The default location for CA is situated in your Arma 2 OA (or Just Arma 2 / 3) under a folder named 'Addons'.
Addons Folder
Within the Addons folder there are a bunch of PBO files. PBO is similar to zip or rar, its a way of archiving files together and is a format that the Arma engine works with.
So how does this relate to the P: Drive?
What we need to do is take every single one of those PBO files from the Addons folder, and unPBO (like UnZip) all of them into our P: Drive.
So for example, we would take:
C:\Program Files (x86)\Steam\steamapps\common\arma 2 operation arrowhead\AddOns\animals.pbo
And make it into:
p:\ca\animals
We do this as sometimes our models / addons might need to borrow components from the existing Arma game objects. For example if we decide to make a car then we can inherit parts of existing cars to make up our own to save making them ourselves!.For example we could use the sounds from the Skoda. We call this inheritance! (we will go more into inheritance later).
CA is also a useful reference to have. You have one central place where you can view the config.cpp files for every in game object to to see how to do configure models / addons the right way.
Anyway to go back to unPBO'ing every single file into our P: Drive. You might well be thinking 'That is a feck ton of work!' Well as luck would have it there is a handy little script to do it for us. This script is called 'Arma2P' by a guy called Mikero.
Mikeros Arma2P script
Download link here
Install instructions:
1. Unrar Arma2P.2.5.1a.rar to anywhere on your PC.
2. Go into the newly created folder and then unrar the following:
extractpbo
convertp3d
depbodll
3. OK, now run Arma2P.2.5.1.cmd (double click on it or 'cd' via a dos box if you have a big beard and like to do things that way).
This will then open a command line prompt and start the whole process for you. Now would be a good time to take a break, this can take up to 30 minutes +
After that move on to Part 3 where we set up Oxygen 2
Part Three
 )
)